Quickstart
Get your first key up and running in 5 minutes.
Step 1: Create Your First Key
Section titled “Step 1: Create Your First Key”- Launch pgpilot
- Click Create in the sidebar
- Fill in the form:
- Name: Your full name (e.g., “Alice Wonderland”)
- Email: Your email address (e.g., “alice@example.com”)
- Subkey Expiry: Keep the default (keys created by pgpilot do not expire)
- Include SSH Auth: Leave unchecked (you can add it later if needed)
- Click Create Key
- pgpilot will call
gpg --batch --generate-key. This takes 10–30 seconds. You’ll see:- A progress message
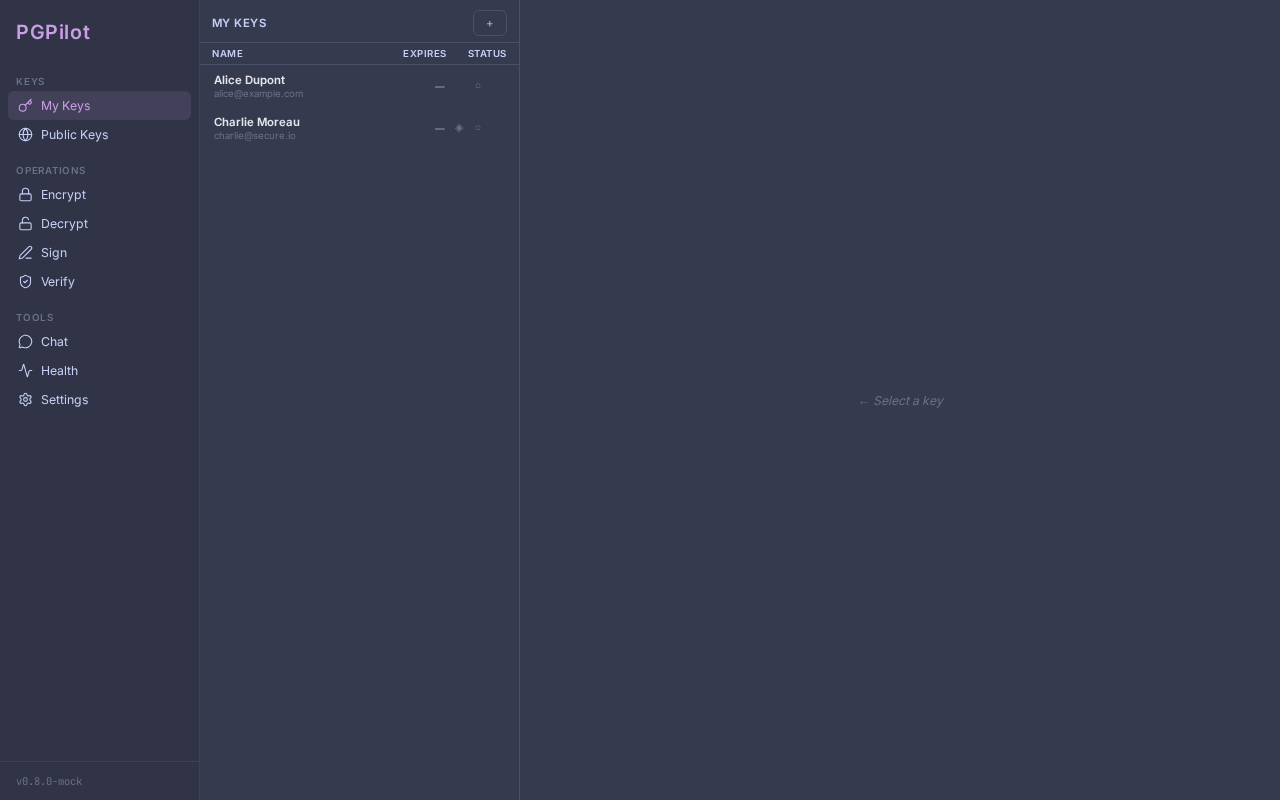
- Your new key appears in the My Keys list on the left
- A green checkmark “Key created successfully”
What pgpilot created:
- A primary key (certification-only, ed25519)
- Three subkeys:
- Sign subkey (ed25519) — for signing files
- Encr subkey (cv25519) — for decryption
- Auth subkey (ed25519) — for SSH authentication (optional)
Step 2: Export Your Public Key
Section titled “Step 2: Export Your Public Key”Share your public key with contacts so they can send you encrypted messages.
- Select your new key in the My Keys list
- Click the Export button (or three-dot menu)
- Choose one of three options:
- File — saves
YourName.pub.ascto disk - Clipboard — copies the key so you can paste it anywhere
- Upload — posts to paste.rs and gives you a shareable link
- File — saves
Example: Export to clipboard, then paste into an email or chat.
Step 3: Import a Contact’s Key
Section titled “Step 3: Import a Contact’s Key”Receive a public key from someone and add it to your keyring.
Option A: From a file
Section titled “Option A: From a file”- Click Import in the sidebar
- Select File
- Choose the
.ascfile containing their key - Click Import — pgpilot will validate and add it
Option B: From keyserver
Section titled “Option B: From keyserver”- Click Import
- Select Keyserver
- Enter their email or fingerprint
- pgpilot queries
keys.openpgp.org(or another keyserver) and shows the key - Click Import
Option C: From URL or pasted text
Section titled “Option C: From URL or pasted text”- Click Import
- Select URL (paste an HTTPS link to a
.ascfile) or Paste (paste armored key text) - pgpilot fetches or parses the key
- Click Import
Step 4: Trust Their Key
Section titled “Step 4: Trust Their Key”Once imported, the key appears in My Keys with trust level Undefined.
To send them encrypted messages, increase their trust:
- Select their key in the list
- In the detail panel, find the Trust badge
- Click it and choose:
- Marginal — you’ve partially verified their identity
- Full — you’ve fully verified their identity
- Click Save
Best practice: Meet them in person, exchange fingerprints, and verify by hand before trusting.
Step 5: Encrypt a File for Them
Section titled “Step 5: Encrypt a File for Them”Now you can send them encrypted messages.
- Click Encrypt in the sidebar
- Click Add Files and select a file
- Check their key in the Recipients list
- Optionally toggle between
.gpg(binary) and.asc(armored/text) format - Click Encrypt
- pgpilot creates
yourfile.pdf.gpg(or.asc) in the same folder as the original
Send the encrypted file to them. Only they can decrypt it (using their private key password).
What’s Next?
Section titled “What’s Next?”- Publish your key — Use Publish to upload to keyservers so anyone can find your key by email
- Rotate subkeys — Use Renew or Replace to keep subkeys fresh
- Backup — Use Backup to export your private key + revocation certificate
- YubiKey — Use Migrate to YubiKey to store your subkeys on a hardware security key
See Key Management for detailed guides.